SleepyC
www.AirHeadMedia.com
View attachment 25619
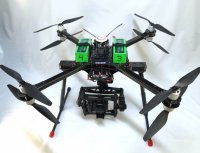
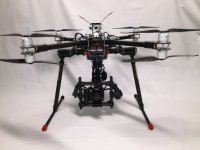
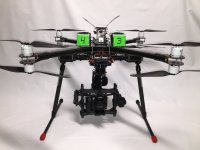
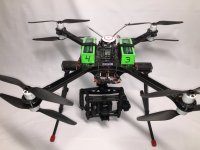
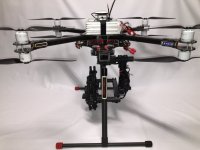
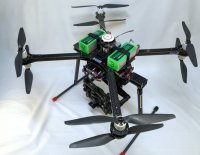
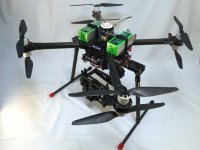
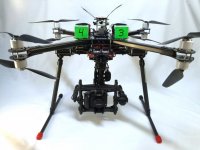
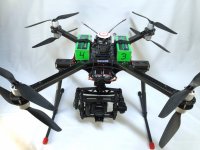
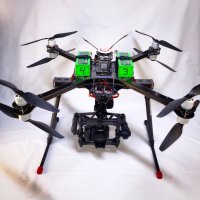
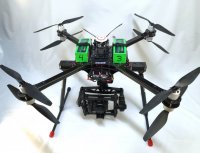
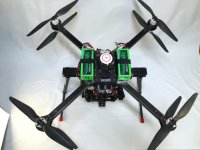
Ok guys, quite a few of you have asked for pictures of my finished Hexacrafter X8 Coax, SO here it is.
If you have never seen a Hexacrafter frame, they are a top notch, 100% professional, top-of-the-line, you can't really do better, multirotor frame. They are designed locally here in Ohio and actually manufactured here in the US. (A lot of it right here in Ohio.) Each kit individual parts are inspected and hand packaged by Andrew and his family. The kits are very complete, use THE best hardware you will ever see in a kit and are as forward thinking as a kit can be. Andrew is always four steps a head and usually tries to have mounting holes for most of the popular gimbals, and other accessories. Also, the kits come with a power distro board that could literally power a house. You will never have hot wires or a power bottle neck with a Hexacrafter kit.
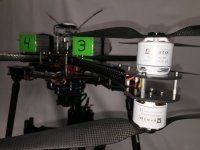
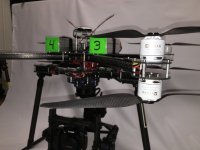
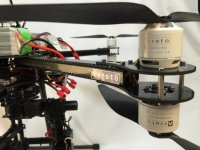
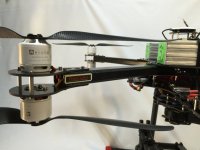
The kit I chose was the HC-850. It can take up to 18" blades and is perfect for the Movi M5, Gremsy H6 or any of the other gimbals of that size. I chose to use the Avroto Lift series 3520's on this rig as I have personally found the Avroto motors to be the most reliable and coolest running motors around. Also Jim is from Ohio (keeping with my local theme) and has some of the best customer service in the brushless motor market!(Not to say that other motor manufactures don't make a great product, but when I find something that works, I tend to stick with it)
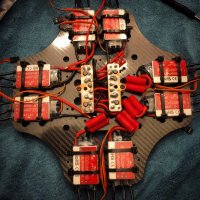
For ESC's I am using the ZTW Spider 50AMP opto w/simonK. But I have added a 1"x 1"x.75" Heat Sink to each ESC to just make sure they stay nice and cool.
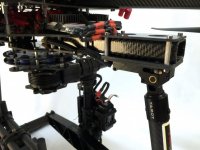
Tarot Retracts are ready to slap on thanks to the retract mounting kit Andrew offers. They can accept several popular brands of retracts, and he even has a way to use the older style DJI S-800 retracts.
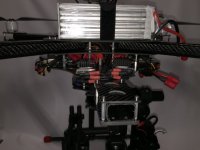
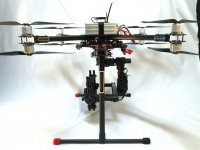
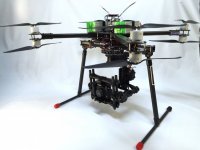
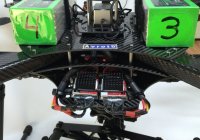
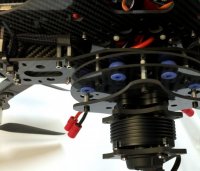
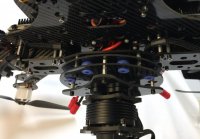
Obviously hanging underneath the rig is my Movi M5 and it's a perfect fit. There is enough room to run a toad in the hole, but I have heard some people have vibe issues with it, so I decided to hard mount mine to the vibe damp plate. Speaking of this plate. Andrew did not just toss on some rubber balls randomly to a few slabs of carbon fiber and hope for the best. He sent specific payload weights to a vibration analyzing company and had them manufacture specific rubber balls to fit his vib system to truly offer a tuned system that deadens vibrations while not allowing the gimbal to shake or move under forward motion. It is seriously bad ass.
The Hexacrafter X8 is available in a few versions the HC-850 (850mm motor to motor) and the HC-1150 (1150mm motor to motor) and both can use the standard motor mounting plates or the larger plates to accommodate the larger motors like the T-motor U7.
Another feature is that both sizes of the Hexacrafter X8 frame can be made to fold by changing a few things, and can be packed down in 5 - 10 minutes.
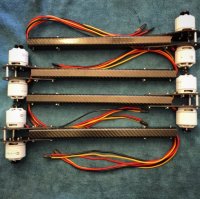
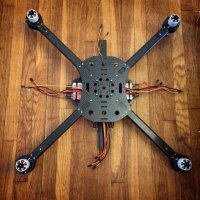
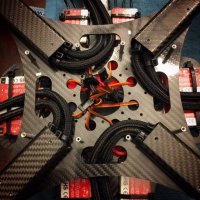
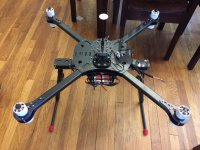
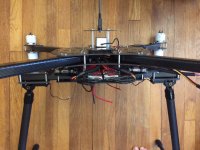
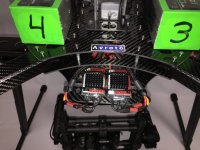
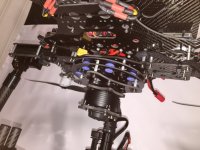
Here are a few assembly pics. There are no surprises. The manual included with the kit is superb, and if you have any questions or concerns, if you call Hexacrafter, you will actually speak to Andrew who is always willing to help you out.
View attachment 25620 View attachment 25621 View attachment 25623 View attachment 25622 View attachment 25624 View attachment 25625
here it is during tuning and testing with 6.75lbs of weight...
SMOOOTH!
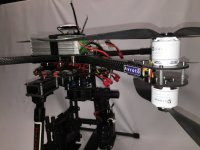
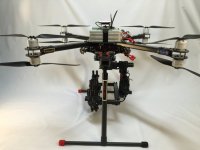
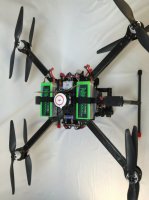
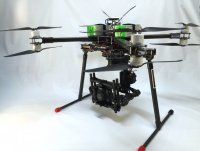
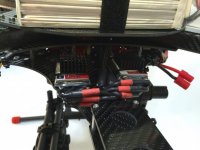
And now the finished masterpiece.... I LOVE THIS THING. IT SCREAMS BAD ASS!!
The HEXACRAFTER HC-850 X8
View attachment 25619 View attachment 25626 View attachment 25627 View attachment 25628 View attachment 25629 View attachment 25630 View attachment 25631 View attachment 25632 View attachment 25633 View attachment 25634 View attachment 25635 View attachment 25636 View attachment 25637 View attachment 25638 View attachment 25639 View attachment 25640 View attachment 25641 View attachment 25642 View attachment 25643 View attachment 25644 View attachment 25645 View attachment 25646 View attachment 25647 View attachment 25648 View attachment 25649 View attachment 25650 View attachment 25651 View attachment 25652 View attachment 25653 View attachment 25654
YEA BUDDY!
Attachments
-
 IMG_3395.jpg72.6 KB · Views: 602
 -
 FullSizeRender.jpg110 KB · Views: 490
 -
 IMG_2964.JPG127 KB · Views: 475
 -
 IMG_2967.JPG100.2 KB · Views: 512
 -
 IMG_2969.JPG101.1 KB · Views: 479
 -
 IMG_3009.JPG108.3 KB · Views: 477
 -
 IMG_3012.JPG97.2 KB · Views: 441
 -
 IMG_3364.jpg58.8 KB · Views: 458
 -
 IMG_3365.jpg62.6 KB · Views: 481
 -
 IMG_3366.jpg71.5 KB · Views: 456
 -
 IMG_3367.jpg60.1 KB · Views: 468
 -
 IMG_3368.jpg63.2 KB · Views: 457
 -
 IMG_3369.jpg102.1 KB · Views: 437
 -
 IMG_3370.jpg98.1 KB · Views: 467
 -
 IMG_3371.jpg64.5 KB · Views: 464
 -
 IMG_3372.jpg67.7 KB · Views: 486
 -
 IMG_3373.jpg68.8 KB · Views: 433
 -
 IMG_3374.jpg60.5 KB · Views: 446
 -
 IMG_3375.jpg76.9 KB · Views: 523
 -
 IMG_3376.jpg67.5 KB · Views: 485
 -
 IMG_3377.jpg45.2 KB · Views: 464
 -
 IMG_3378.jpg63.1 KB · Views: 428
 -
 IMG_3380.jpg61.6 KB · Views: 473
 -
 IMG_3381.jpg61.3 KB · Views: 435
 -
 IMG_3382.jpg102.8 KB · Views: 475
 -
 IMG_3383.jpg65.1 KB · Views: 445
 -
 IMG_3384.jpg80.5 KB · Views: 644
 -
 IMG_3385.jpg78.8 KB · Views: 445
 -
 IMG_3386.jpg74.1 KB · Views: 823
 -
 IMG_3388.jpg68.6 KB · Views: 684
 -
 IMG_3389.jpg68.2 KB · Views: 2,179
 -
 IMG_3390.jpg71 KB · Views: 832
 -
 IMG_3391.jpg78.9 KB · Views: 1,483
 -
 IMG_3393.jpg61 KB · Views: 672
 -
 IMG_3395.jpg72.6 KB · Views: 652
 -
 IMG_3396.jpg74.2 KB · Views: 589
