Flexacopter w/WKM and AV130

skivvie

Member
I posted all this originally at RCG, but think it would be appreciated more here so I'm duping it

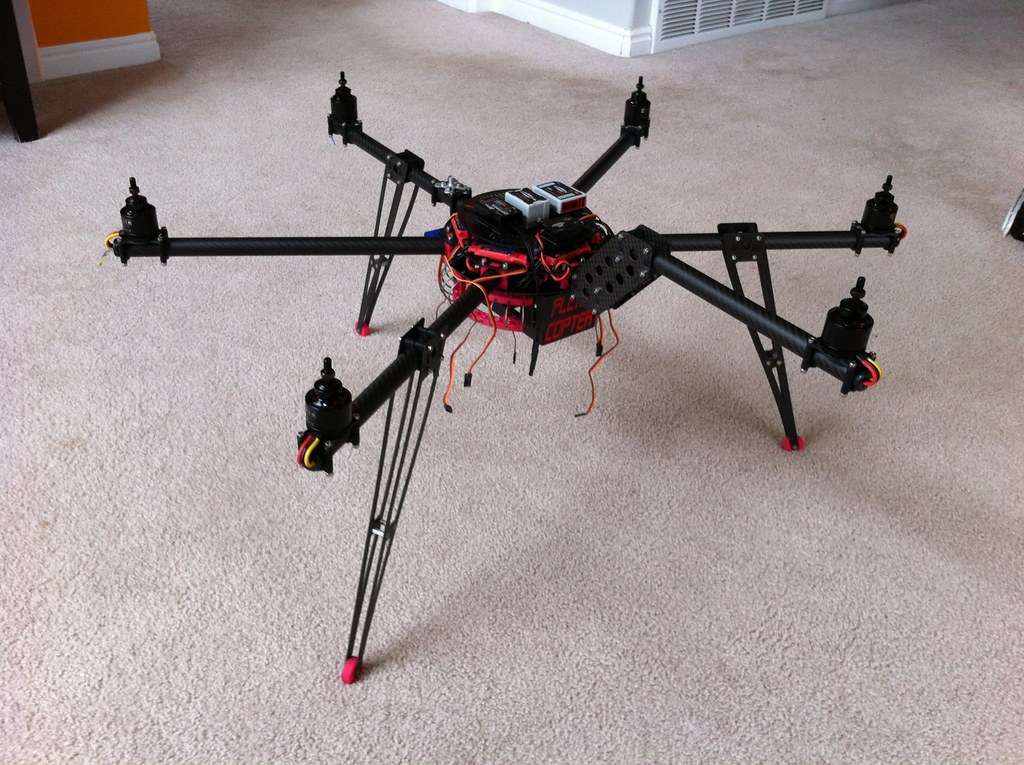
Quickly: The craftsmanship of this frame is phenomenal. They thought of (almost) everything and the quality is as good as you can get.

Setup so far:
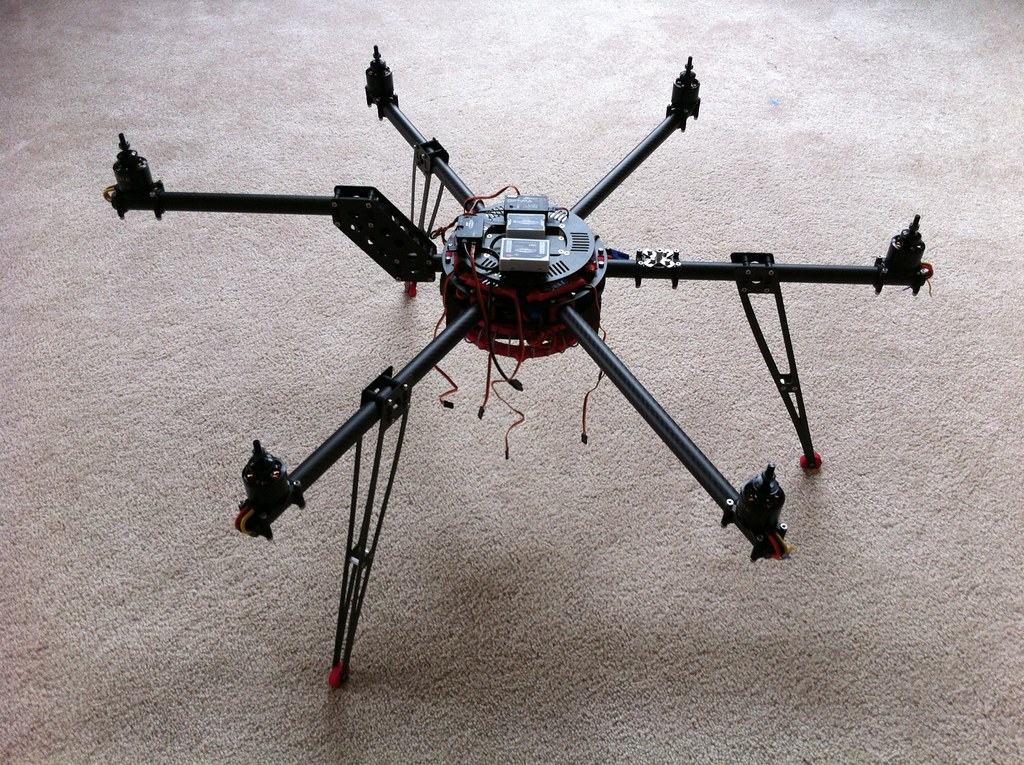
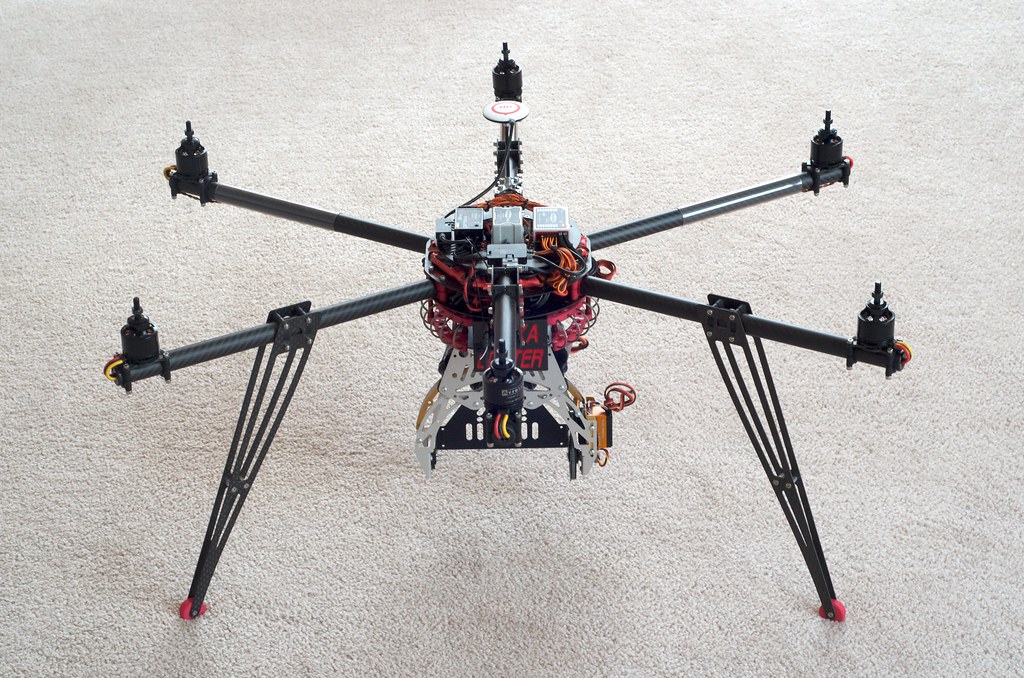
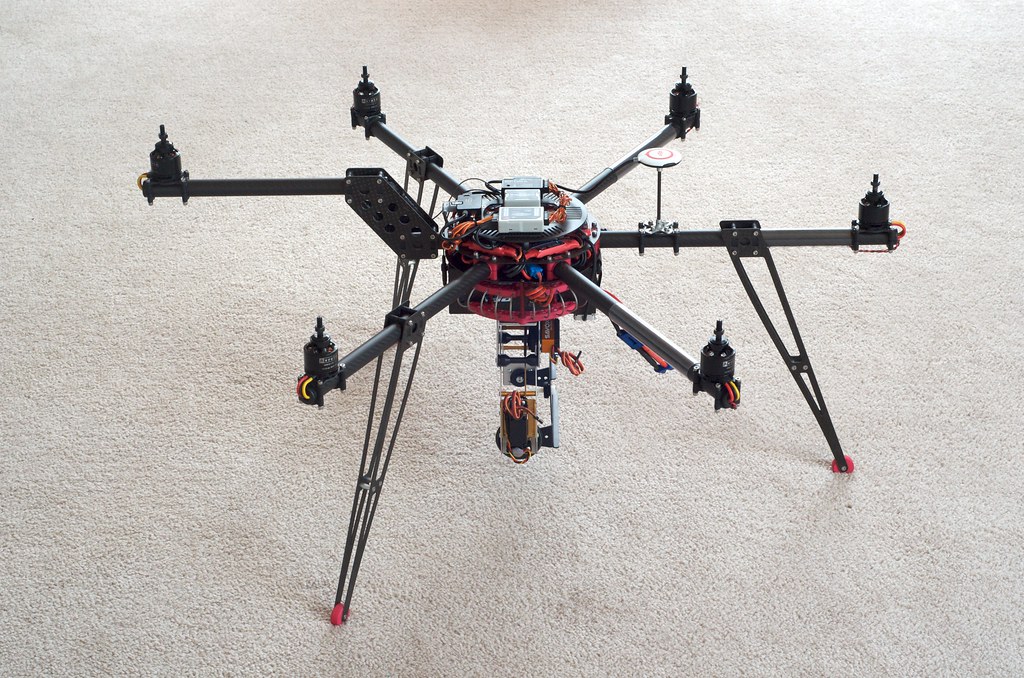
Flexacopter with all the options including a gooseneck front arm.
DJI Wookong M
HiTec Optima 9 Rx (w/ Aurora 9 Tx)
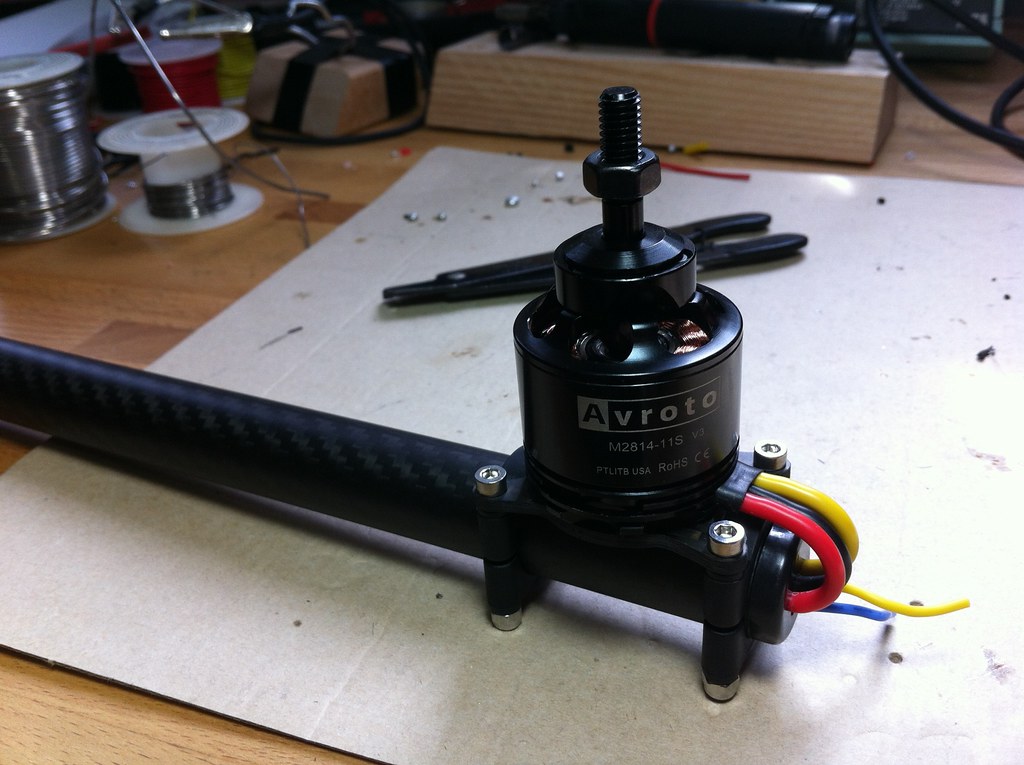
Avroto 2814
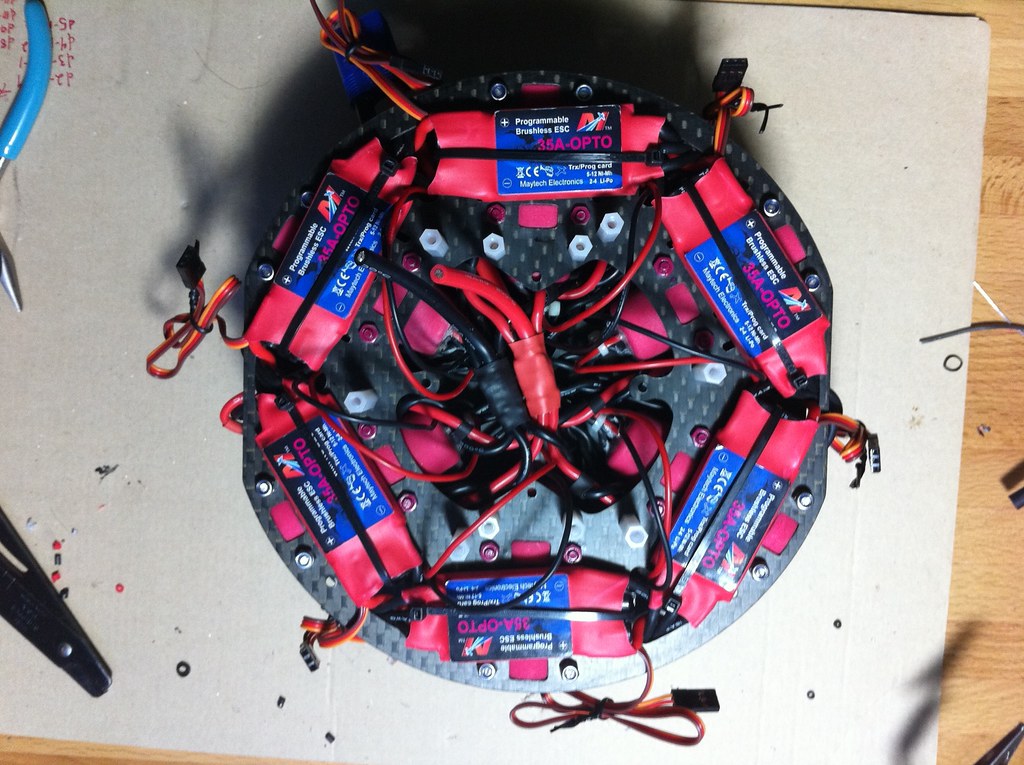
Maytech 35A OPTO ESCs
Graupner 11x5
Voltair distro board (as well as custom spider)
Zippy 4S 5000mAh (2 in parallel)
PhotoHigher AV130 gimbal
Castle BEC at 6.5vsome LED strips

This build might be up for sale soon so if you are interested let me know...

And now for lots of photos!

Fresh out of the box:

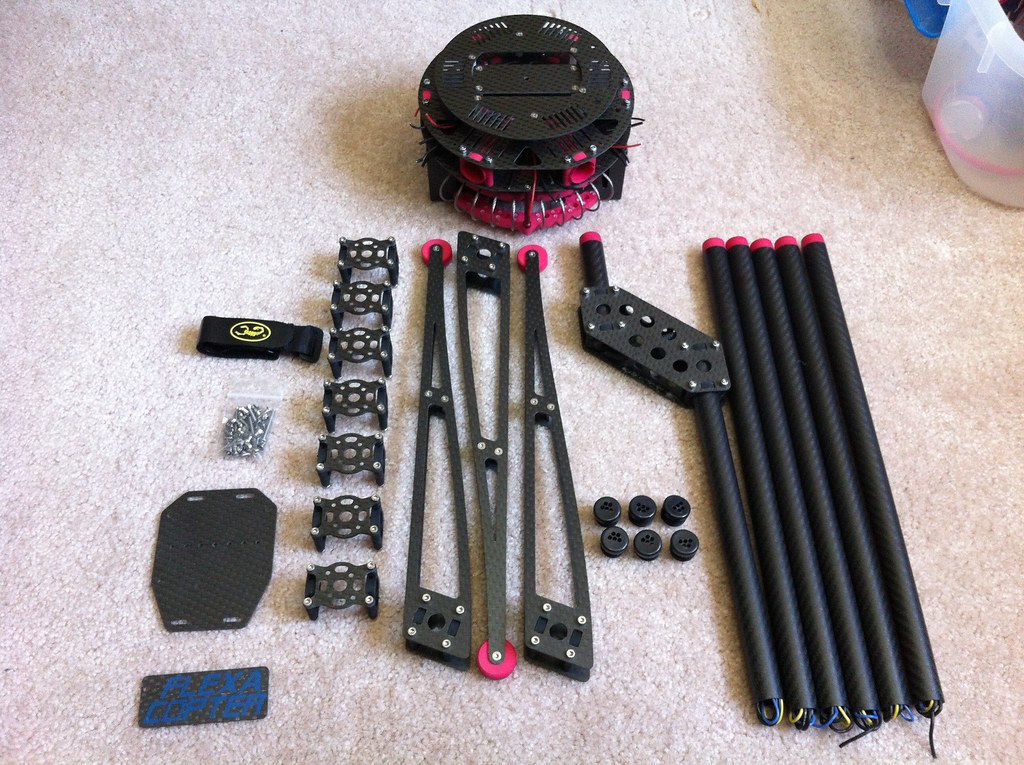
Flexacopter parts by Loren Cox, on Flickr

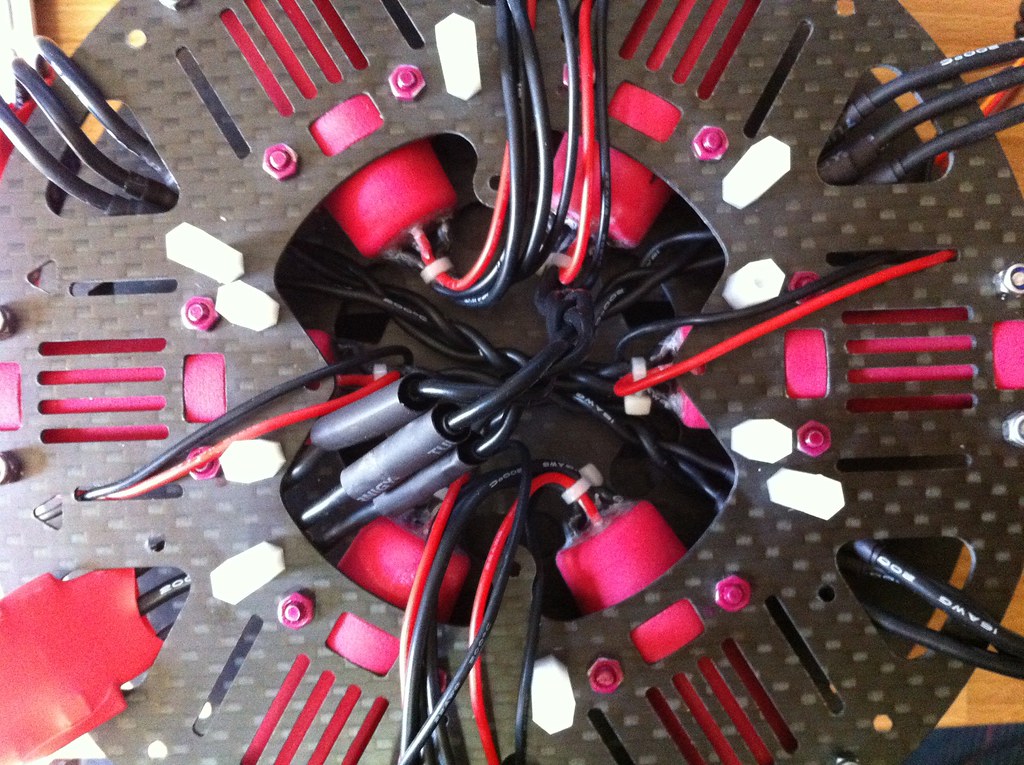
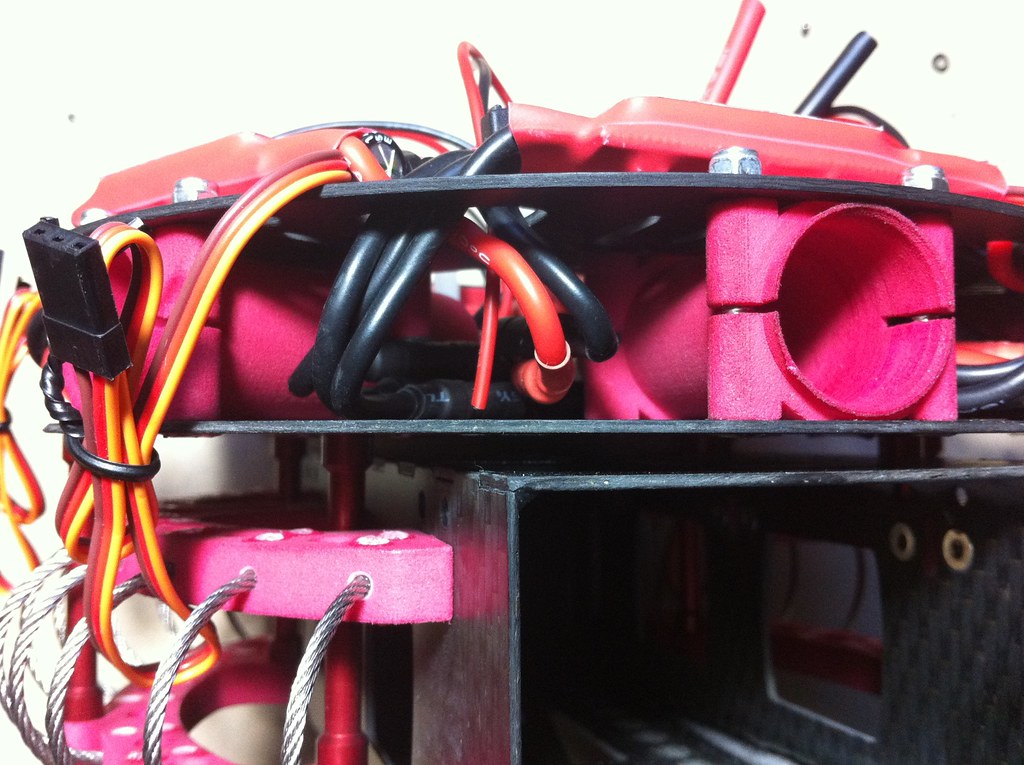
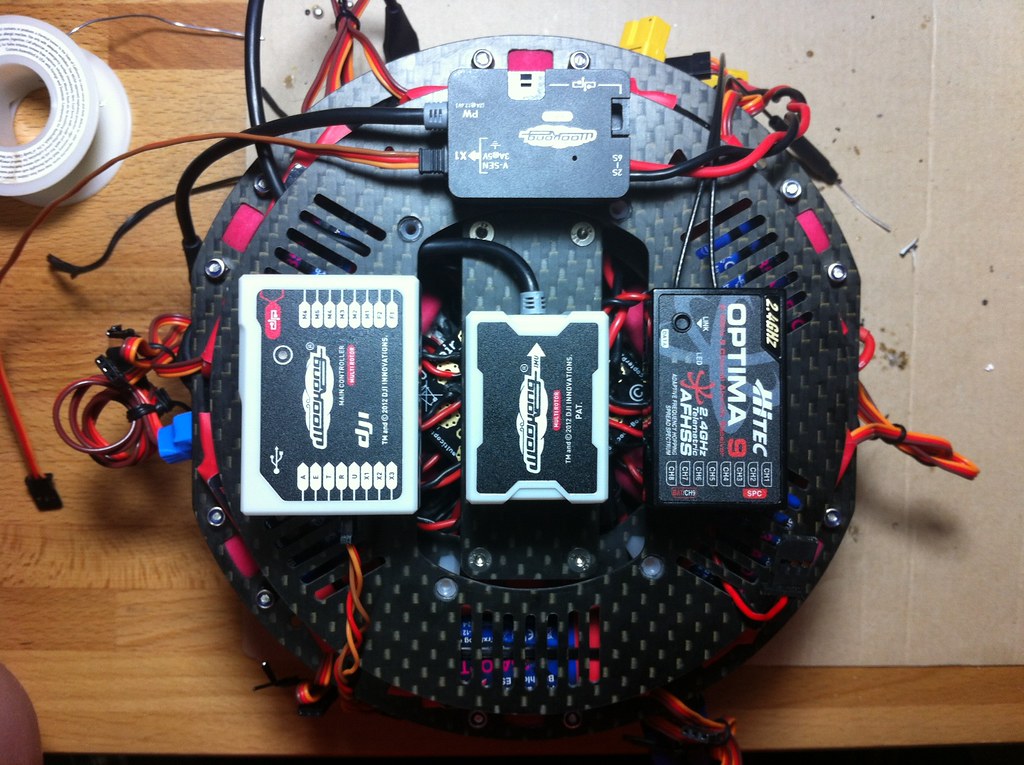
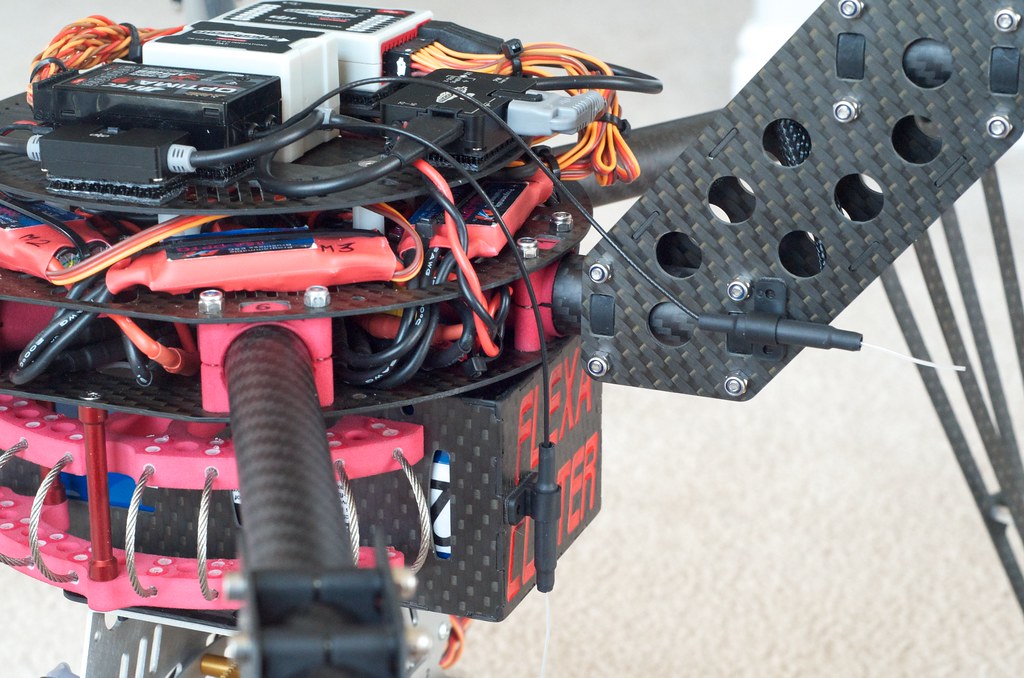
Planning out the placement of ESC and Voltaire power board:
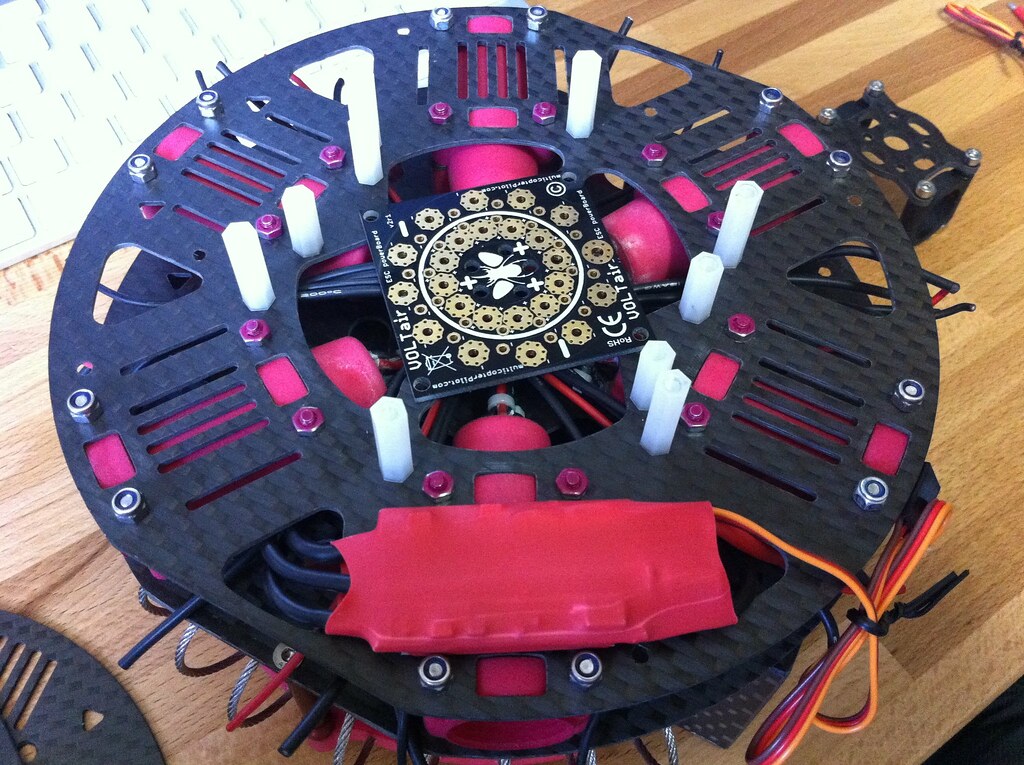
Flexacopter hub by Loren Cox, on Flickr

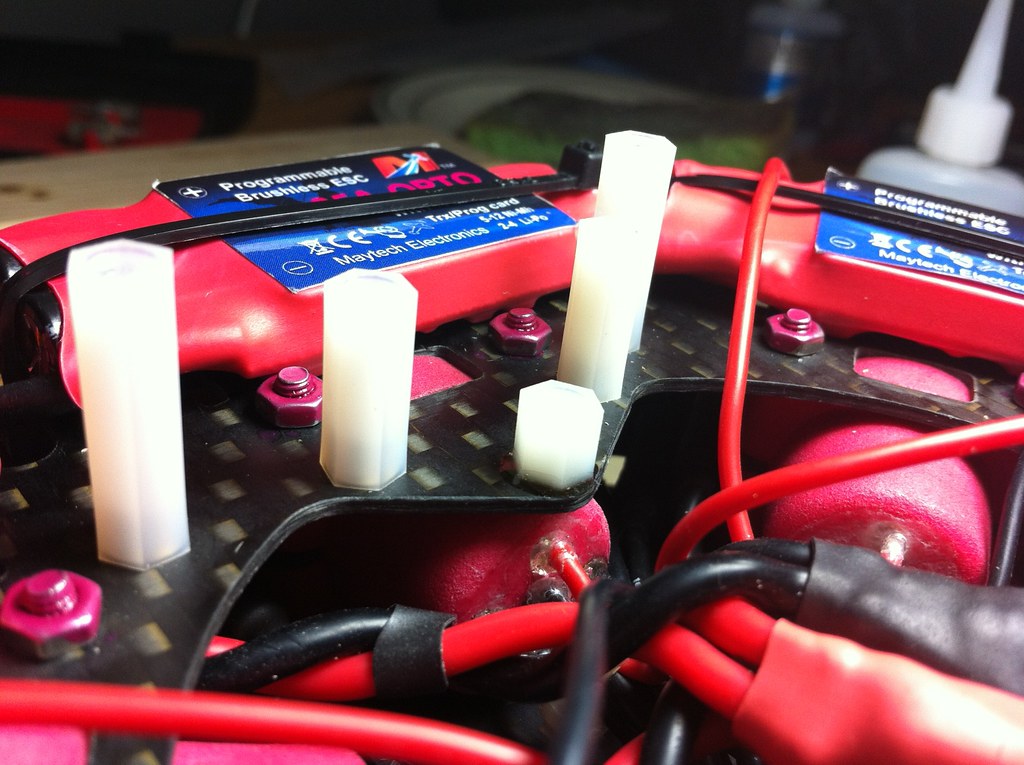
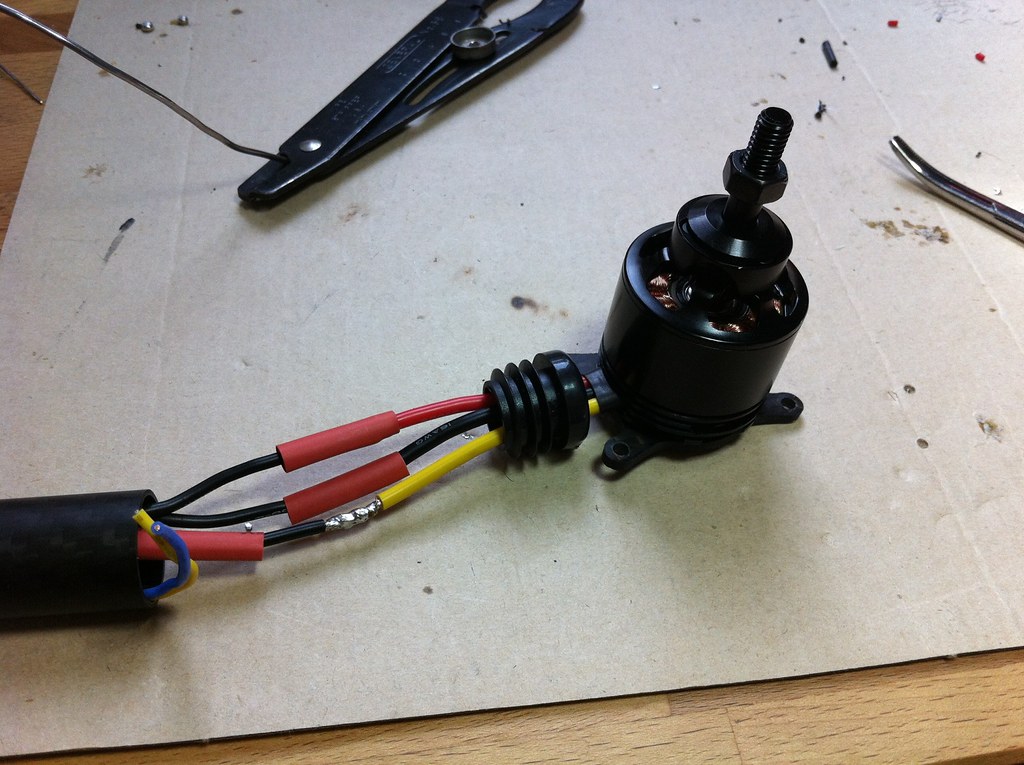
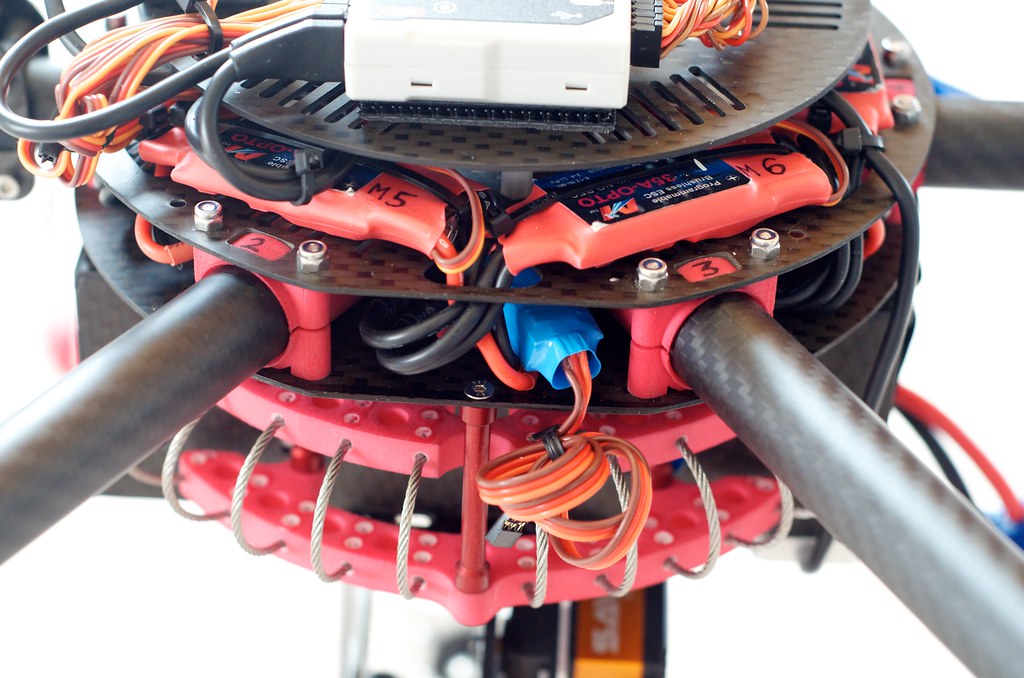
The ESC's all soldered with 3.5mm bullets. I don't trust that I'll have these ESC's on forever with all the flashing shenanigans going on so I want them easily removable. They are Maytech 35A OPTO v1's.

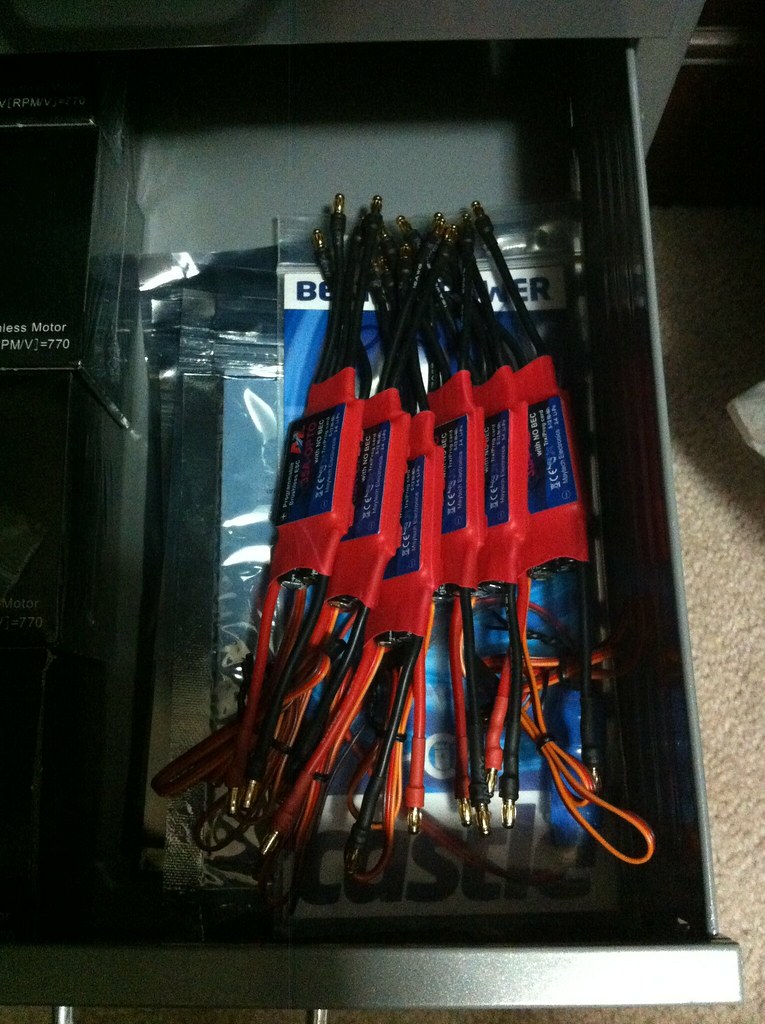
ESCs soldered w 3.5mm bullets by Loren Cox, on Flickr

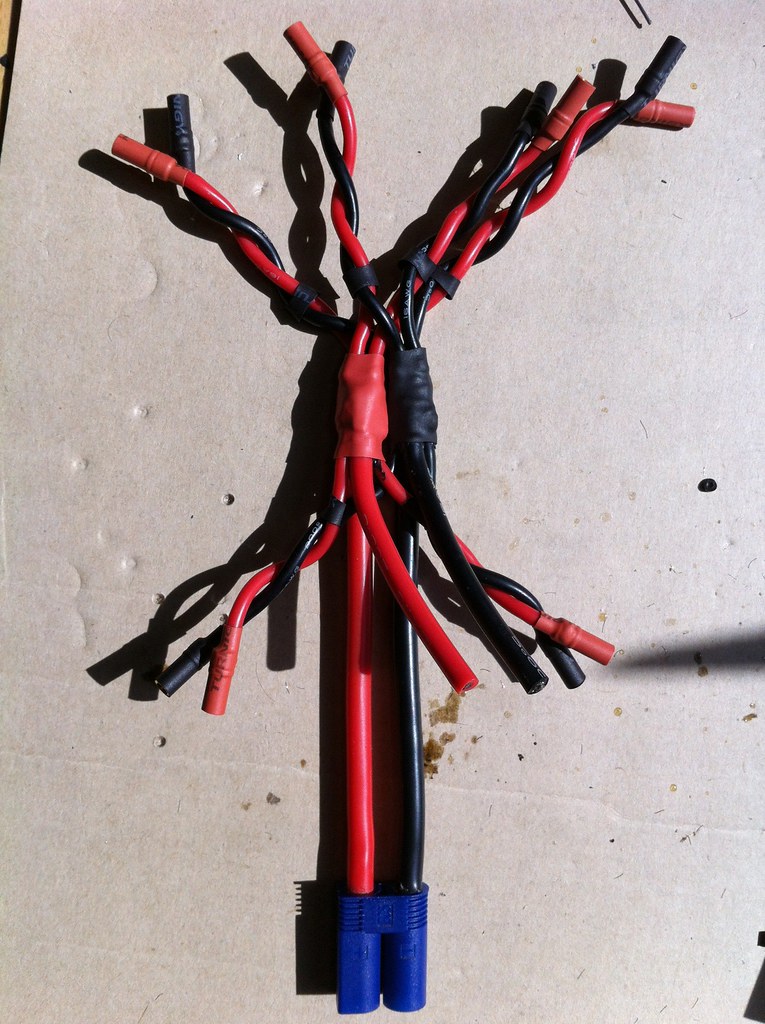
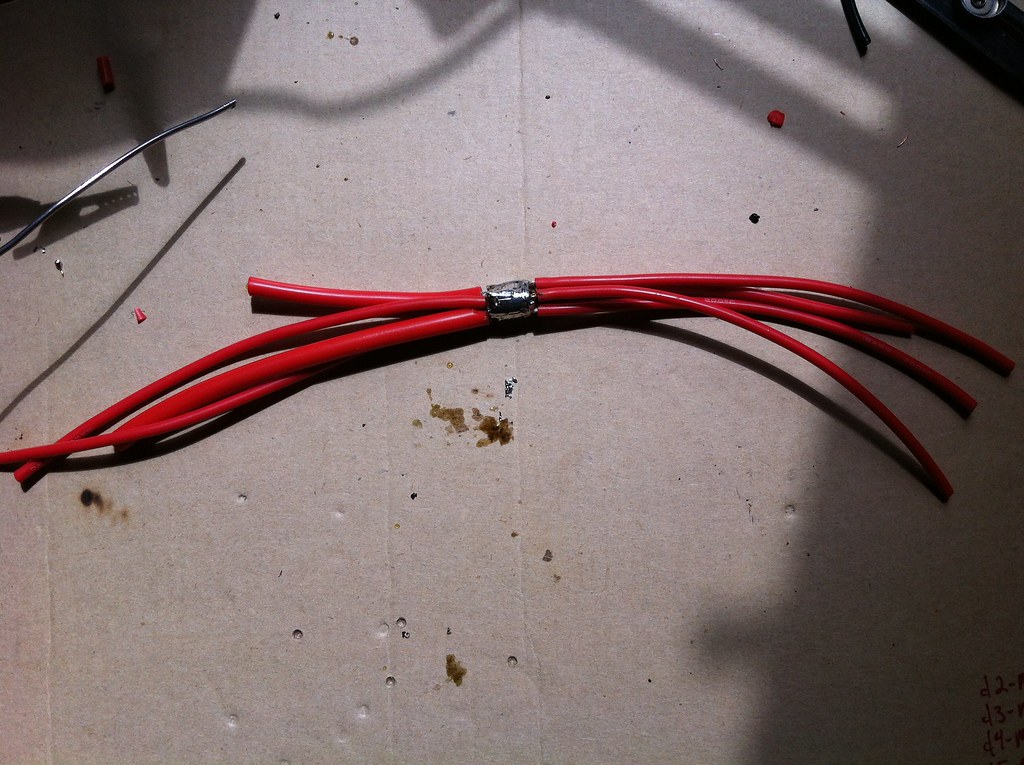
Scared of running it all through the board, I decided to be safe and make a simple power distribution spider for the ESC's with a 7th leg for the distro board which will make it easy to add extras as I go. I'm sorta throwing caution to the wind weight wise but i'm not to worried about an extra 100 grams give or take. Soldered up a power distribution spider... I'm not sure which I trust less, the spider or the Voltair! That's a lot of solder.

Held together with copper wire before soldering.

Power distribution spider by Loren Cox, on Flickr


Soldered up

Power spider soldered by Loren Cox, on Flickr


Not bad, pretty clean blob

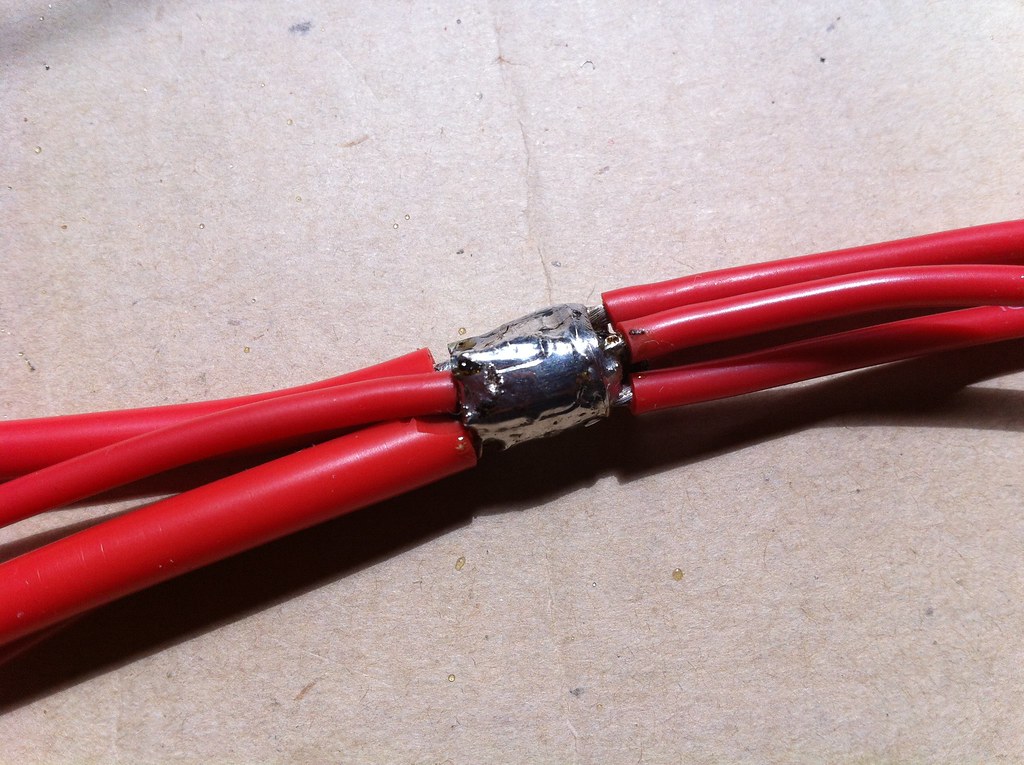
Big wad of solder by Loren Cox, on Flickr


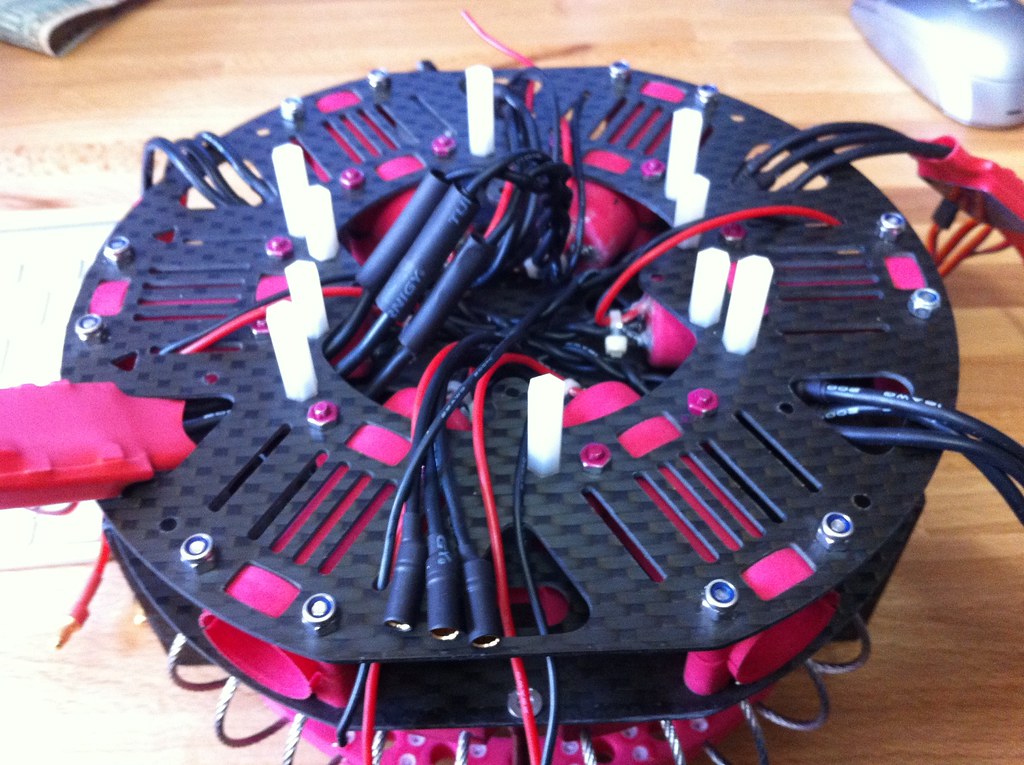
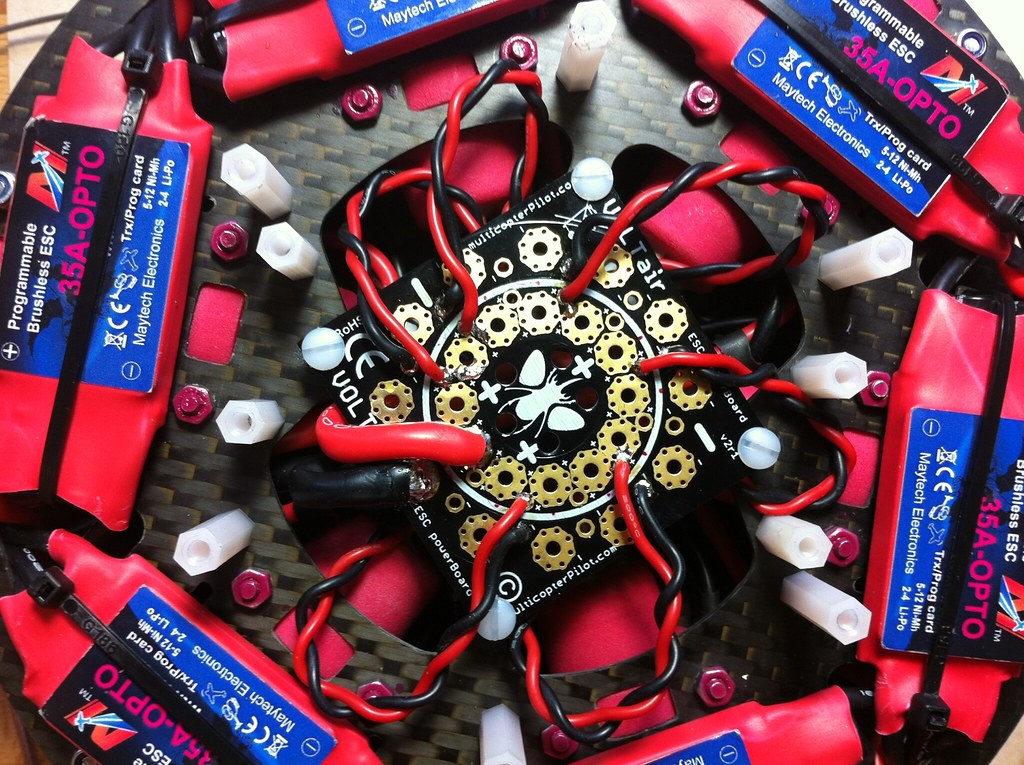
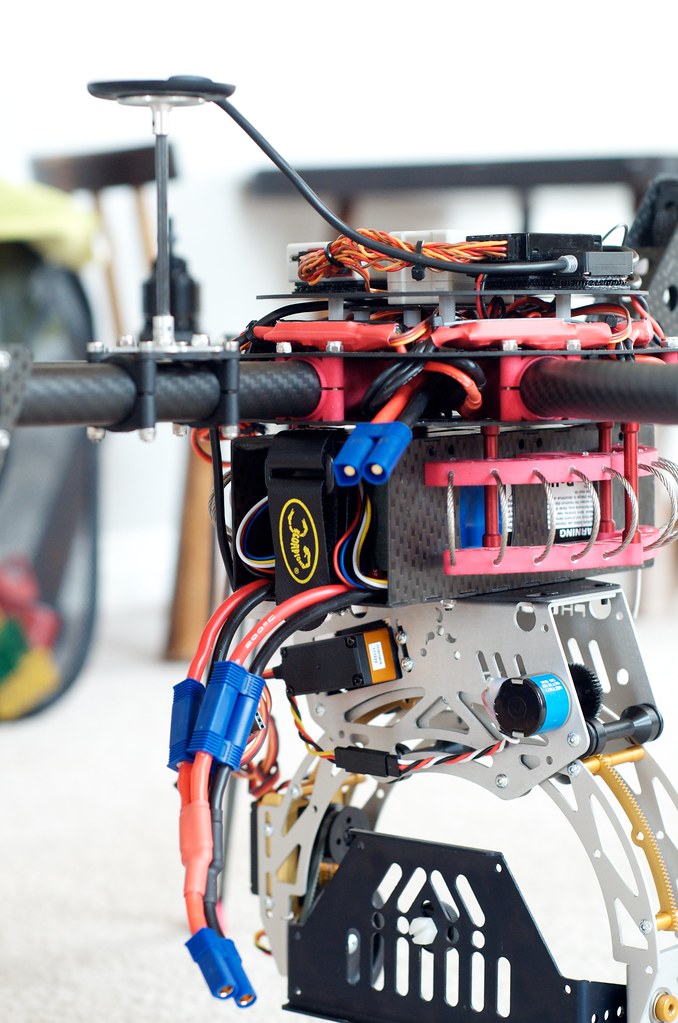
Liquid tape is next... laid out like this on the hub, all wires in the middle. Voltair board on top for easy addition of accessories. Make sense?

Power layout by Loren Cox, on Flickr

Liquid tape is awesome

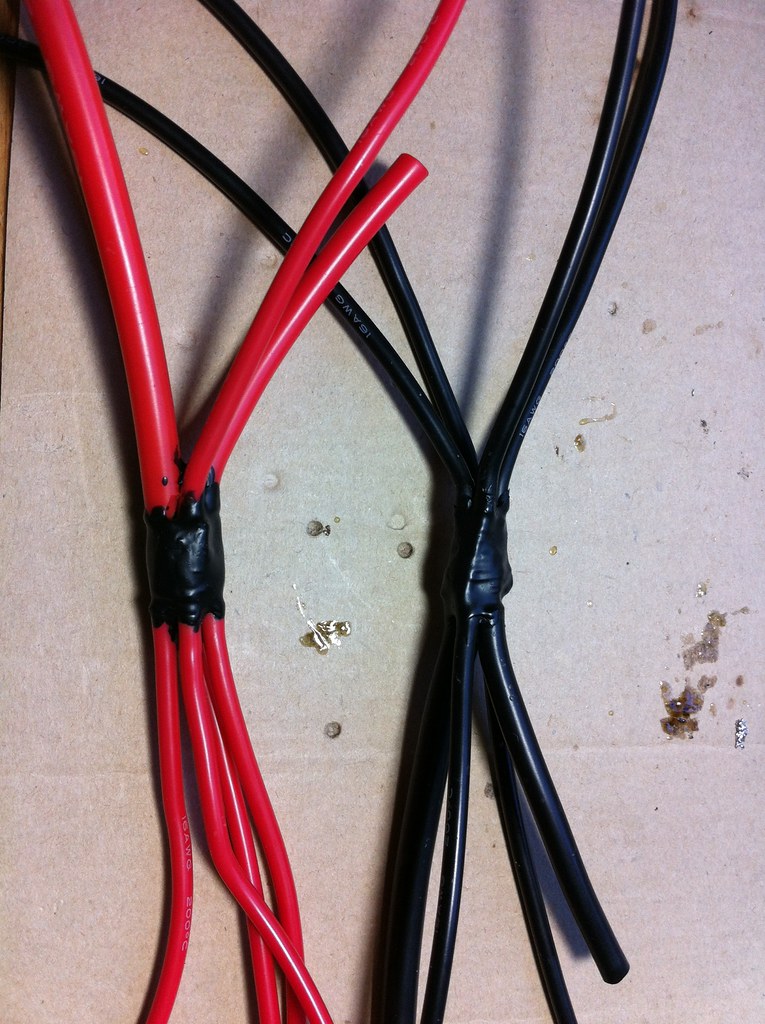
Power spiders by Loren Cox, on Flickr


And so is heat shrink.

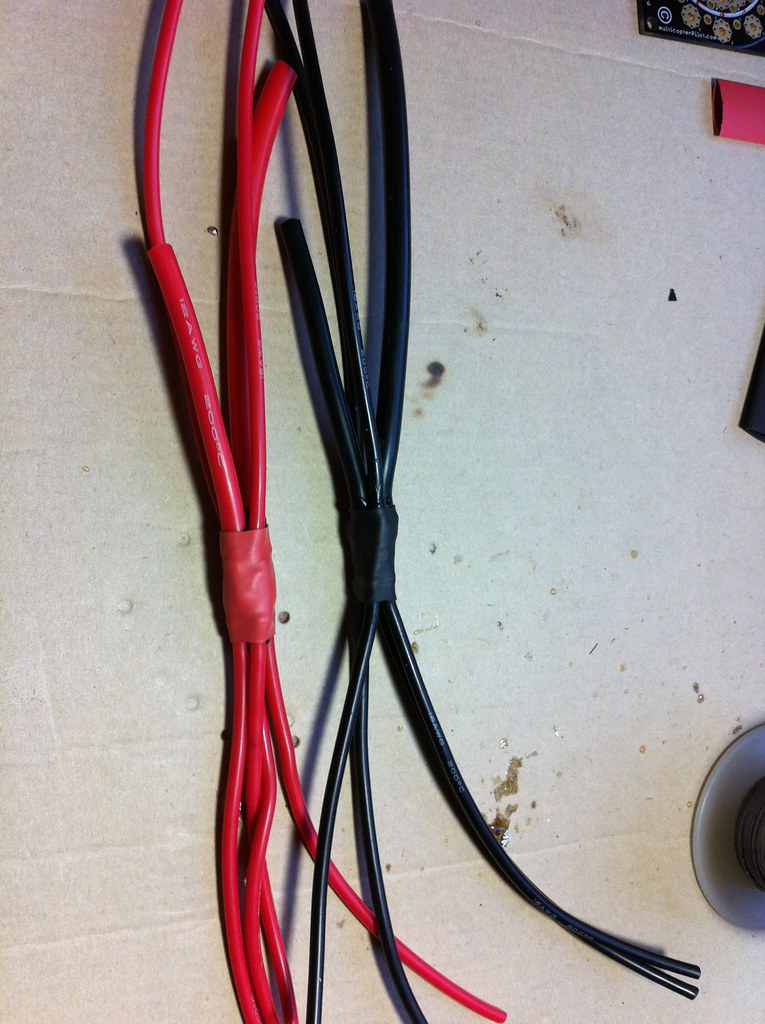
Power spiders heat shrunk by Loren Cox, on Flickr


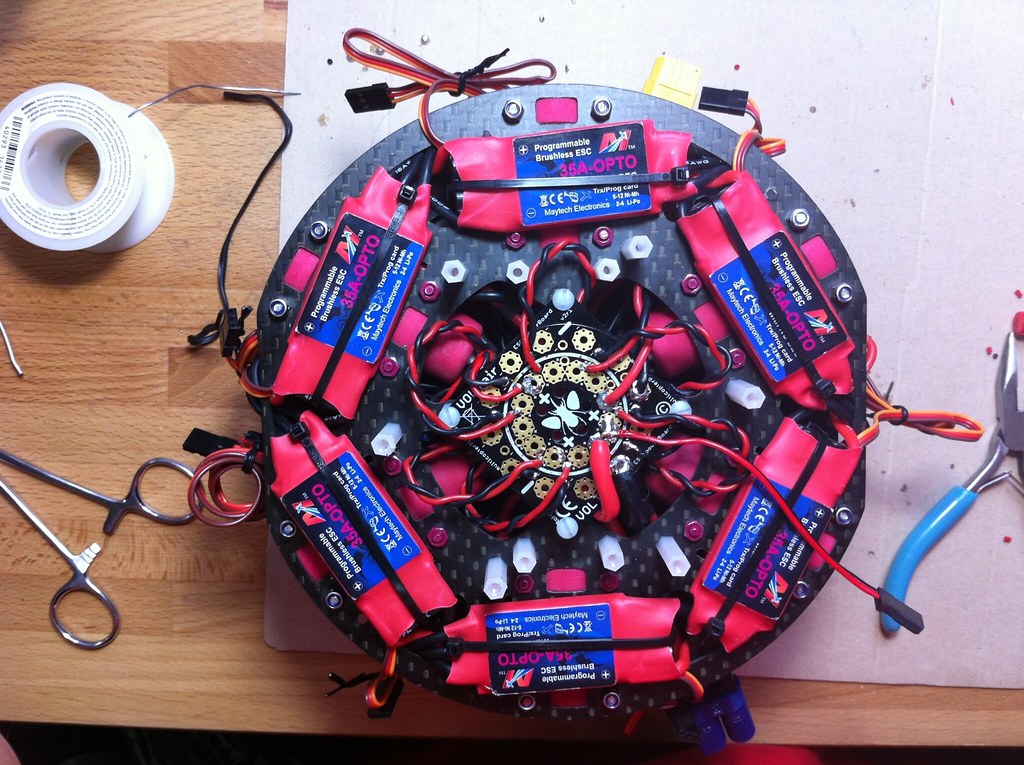
Laying out the spider

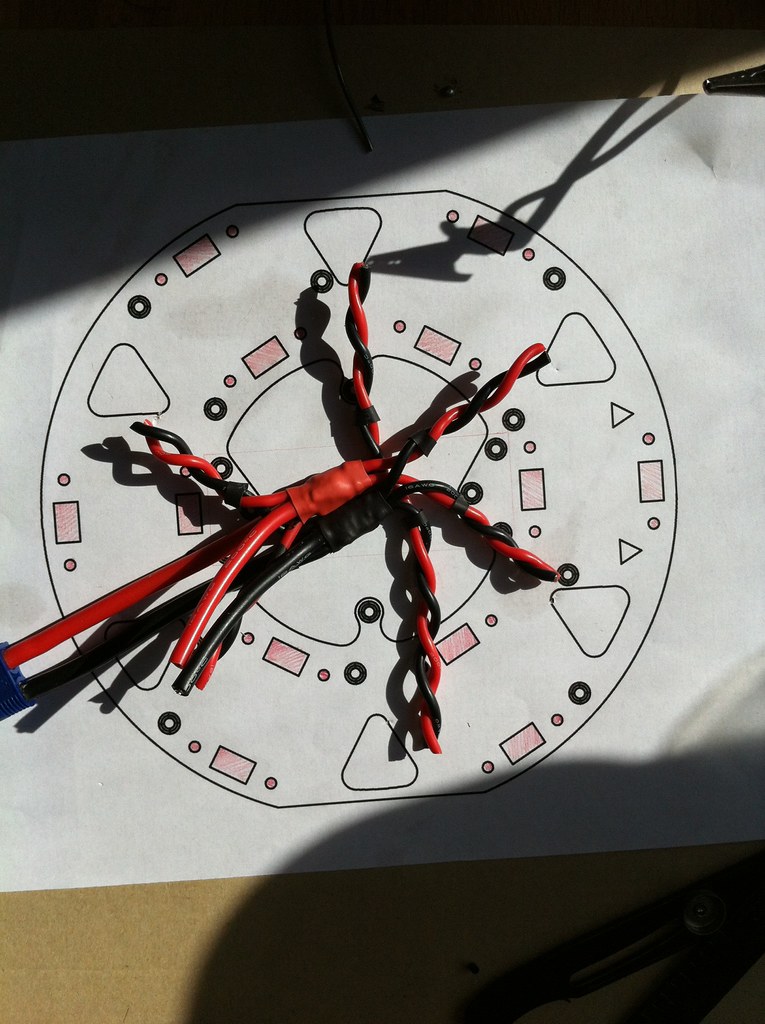
Power distribution layout by Loren Cox, on Flickr
 
Last edited by a moderator:

skivvie

Member
w/ EC5 to battery and 3.5 mm bullets to ESCs

Power distribution spiders by Loren Cox, on Flickr

Then wired it all onto the hub...


Connecting ESCs... Shrink tube over the bullets just to make sure there is no short potential and no disconnect potential.

Connectin ESCs by Loren Cox, on Flickr


Hub motor wire routing
Braided and crossed over to opposite arm connector.

Hub motor wire routing by Loren Cox, on Flickr


ESC wiring to the arm sockets done.

Motor wiring done by Loren Cox, on Flickr


ESCs on, wired to power distribution spider and zip tied down.
That was a pain in the *** to say the least, but it all fits. Barely.

ESCs on! by Loren Cox, on Flickr


Side view of the rats nest

Side view of the rats nest by Loren Cox, on Flickr

And next is to mount the distribution board. Why a distro board? Because it makes adding accessories as I go much easier than adding to the spider. I'm going to use standoffs to mount it just below the IMU mount plate.


But the arm socket is too close to the mount hole making it impossible to fit a nut or anything else with the exception of a flat head screw (which means taking apart the hub early on to mount the standoff before you get to the wiring stage). So I had to cut half the threads off this standoff and superglue it down. Should work fine. This is only the case with two of the holes, the other two are easy to get a nut onto the standoff from the bottom.


hub flaw #1 by Loren Cox, on Flickr

Voltaire distribution board wired up...
Just the accessory wires for the arms on it and mounted to test fit. Some ugly soldering fixed later ;-)


Voltaire distribution board wired up by Loren Cox, on Flickr


Castle BEC for gimbal, SPC wire for Optima 9, and power wire for WKM PMU (XT60 connector at right) all on the board. After this I liquid taped bottom and top solder connections... bottom to prevent any rubbing of wires beneath, top... I guess I like the smell of liquid tape?


Voltair Power Distribution board in place by Loren Cox, on Flickr


This is going to be the layout for the WKM and receiver. IMU down with double sided tape, everything else on the plate has 3M dual lock velcro for easy removal if necessary.


DJI WKM layout by Loren Cox, on Flickr
 

skivvie

Member
Motors soldered to arm wires. Plenty of wire shipped with the arm makes this easy. Predrilled caps... awesome.

Soldering the motors to the arm wires by Loren Cox, on Flickr


First motor mounted! So fresh and so clean.

1st motor mounted! by Loren Cox, on Flickr


My first oops of the build... I let the smoke out. Connected the ESC program card to main battery instead of 5V... the plug to the SPC of the Receiver to be exact... instead of one coming off a servo port. Wish I knew those resistor sizes so I could just fix it. Bah. New one on order 'cause I'm not sitting here for hours listening to beeps!

I let the smoke out by Loren Cox, on Flickr


Mounted the arms and legs and pow! Finally looks like a multirotor! Sexy.

legs and motors mounted! by Loren Cox, on Flickr


Profile.

photo by Loren Cox, on Flickr


Here's the final top plate layout. Everything but the IMU is down with 3M dual-lock velcro for removal and in the case of the compass/GPS wire... packing it up. HiTec Optima 9 has it's own power (SPC) from the distro board, so the red wire 3A 5V wire coming from the WKM PMU was removed from the servo connector going into X1. Note each arm is numbered and has the corresponding number on the male end of the socket.

_DSC9129 by Loren Cox, on Flickr


Also numbered the ESC's so I know what motor they go to.

top plate layour by Loren Cox, on Flickr


Mounted the antennas for the Optima 9 at opposing angles as manual suggests, and the holsters make them easily removable when the front arm comes off.

_DSC9137 by Loren Cox, on Flickr


Castle BEC tucked away for when I get the gimbal going.

_DSC9131 by Loren Cox, on Flickr


I had originally mounted the compass/GPS antenna mast with an R pin through the base to make it easy to remove for packing up, but there was too much play due to my imprecise drilling, so ended up just CAing it all in. I can remove the motor mount from the arm easily enough for packing. Getting full lock inside my house, so hopefully no interference issues. I might try and cut the mast to half that size so in the event of a flip, the motors would keep it from hitting dirt given the gooseneck offset in front.


I cut the supplied battery strap and sewed it to be 20cm long, works great. BUT... I wish there were slots to mount the strap on the horizontal axis as well as vertical. My vertical 4S 5A lipos would be more secure, but they'd have to work pretty hard to wiggle out as is, so not a big deal.


Also... parallel EC5 adaptor.

_DSC9132 by Loren Cox, on Flickr
 

skivvie

Member

Attachments

  • photo.jpeg
    photo.jpeg
    147.5 KB · Views: 399
Last edited by a moderator:

tstrike

pendejo grande
NICE!!! Dang, your just down the road from me, I'm in cottonwood heights. In the video are you flying in the park by the pool at point of the mountain? I recognize the Utah State Penn. in the background. Way to represent Utah!!


skivvie

Member
NICE!!! Dang, your just down the road from me, I'm in cottonwood heights. In the video are you flying in the park by the pool at point of the mountain? I recognize the Utah State Penn. in the background. Way to represent Utah!!

I'm actually up on the Point of the Mountain flight park, close to the pool but all the way at the westernmost side of the hill. I live up here. =]

Nice to see you on the forum. Why would you be selling it???

Not sure yet, just thinking about it. If I can't get it dialed in for exactly what I want, then I might sell , but it's working well so far so we will see. You know the game ;-)


skivvie

Member
Look what I'm going to play with in the morning...
My D7000 fits on an AV130 by about a mm. I had to cut the rubber panel off, and I can barely fit a custom AV cable in the port. Can't believe it all fits and works well with the video downlink. Hovered it quickly to make sure it works well but it was super windy. So first real video test flight tomorrow!


It FITS! by Loren Cox, on Flickr


skivvie

Member
Here's a quick compilation of stuff I've shot so far... Mostly just messing around my neighborhood for the first half then some actual shooting for the second half. The cool stuff is yet to come but there's some decent footage here. First section is mostly GoPro, second is with Nex5n.


https://vimeo.com/44502165
 

Top